
Nicki, a Rainbow Trust Family Support Worker and Francesca who she supports, share this simple how to guide so you can make your very own paper snowflake!
You will need:
- Six squares of paper
- Scissors
- Sticky tape
- Ribbon
- Pencil (to draw guidelines for cutting).
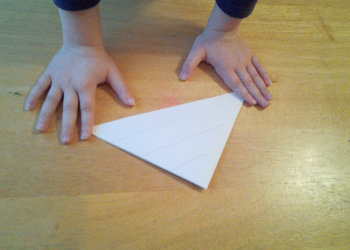
Step one: Each sheet of paper will create one section of the snowflake. You may use any size of paper as long as all six are the same size. Fold the square diagonally along the middle to form a triangle.
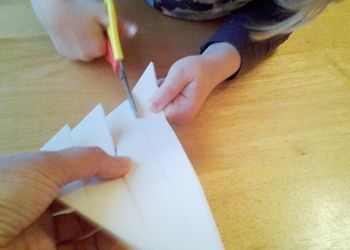
Step two: Fold this triangle again along the middle into a smaller triangle and cut three diagonal slits along the single folded side.
Step three: Unfold carefully and you will see a pattern of diamonds cut into the paper.
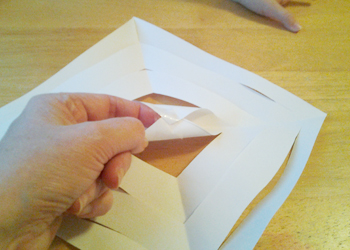
Step four: Connect the points by folding matching sides and sticky tape them together, first set of points on one side then turn the paper over for the next second set of points, turn again for third points and again for last set. Repeat for the other five pieces of paper.
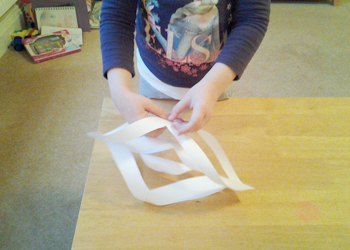
Step five: Now you need to lay out all the pieces in a line. Tape one piece to the next from the sides until all six are joined in a row and then tape together three of the pointed ends and again for the other three.

Step six: Then bring the first and sixth piece together to form a circle and join, then tape the centre points together.
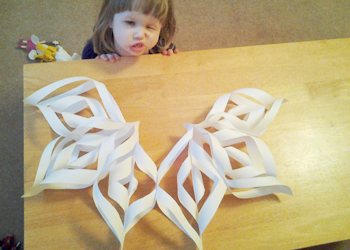
Now just finish off with some ribbon and you’re ready to hang your beautiful snowflake!